Beefsteak is one of the first recipes I ever learned how to cook. In an effort to bring some life back into our kitchen after my mom passed away, I was determined to learn some of our household’s favorite Filipino dishes from “the experts” — my mom’s mom and mom’s aunt, of course. The summer after Mama passed, we organized a huge reunion in the Philippines to bury her ashes but mostly to celebrate her life and enjoy time with our families. We went to Boracay (beach party capital of the Philippines), spent a few nights in Tagaytay Highlands, hung out in Manila, and visited my mom’s hometown, Malabon. Here, I went to my Lola (grandmother) and Tita (aunt) with a list of Filipino dishes that I wanted to learn, and one of them was beefsteak, or bistek. (You can read more about this first ‘cooking lesson’ in my first post, The Origin of Live life. Love others.)
Filipino beefsteak is a mouthwatering sweet beef stew served with rice and pairs excellent with some kind of potato side. The secret? The tenderness of the beef! The perfect sauce could be completely offset by tough, hard-to-slice-with-just-your-spoon-and-fork kind of beef. Therefore, the right hardware and technique for tenderizing the beef is key. You need a good meat tenderizer. For years, maybe decades, the thinner tenderize (pictured below) was what I, and presumably my mother, would use. It’s a tedious process, to say the least. All in all, I’d say beefsteak should take only 20-25 minutes to make, but tenderizing three pounds of meat with that thing added on, I kid you not, forty extra minutes at least. It would also create blisters because of the thin structure of the handle. When my boyfriend and I started dating, he took on the role as my official beefsteak tenderizor. He would pound away, but still felt the same burden I would experience. So, for this special post on beefsteak, he treated himself to a brand spankin’ new tenderizer. It was one of the more pricey ones at $12, but the weight was distributed perfectly, and there was a rubber handle with a sturdy design. It cut our tenderizing time to just 10 minutes. Well worth the long-term investment. 🙂 Read on for technique…

Ingredients:

3 lbs. Boneless beef chuck short ribs
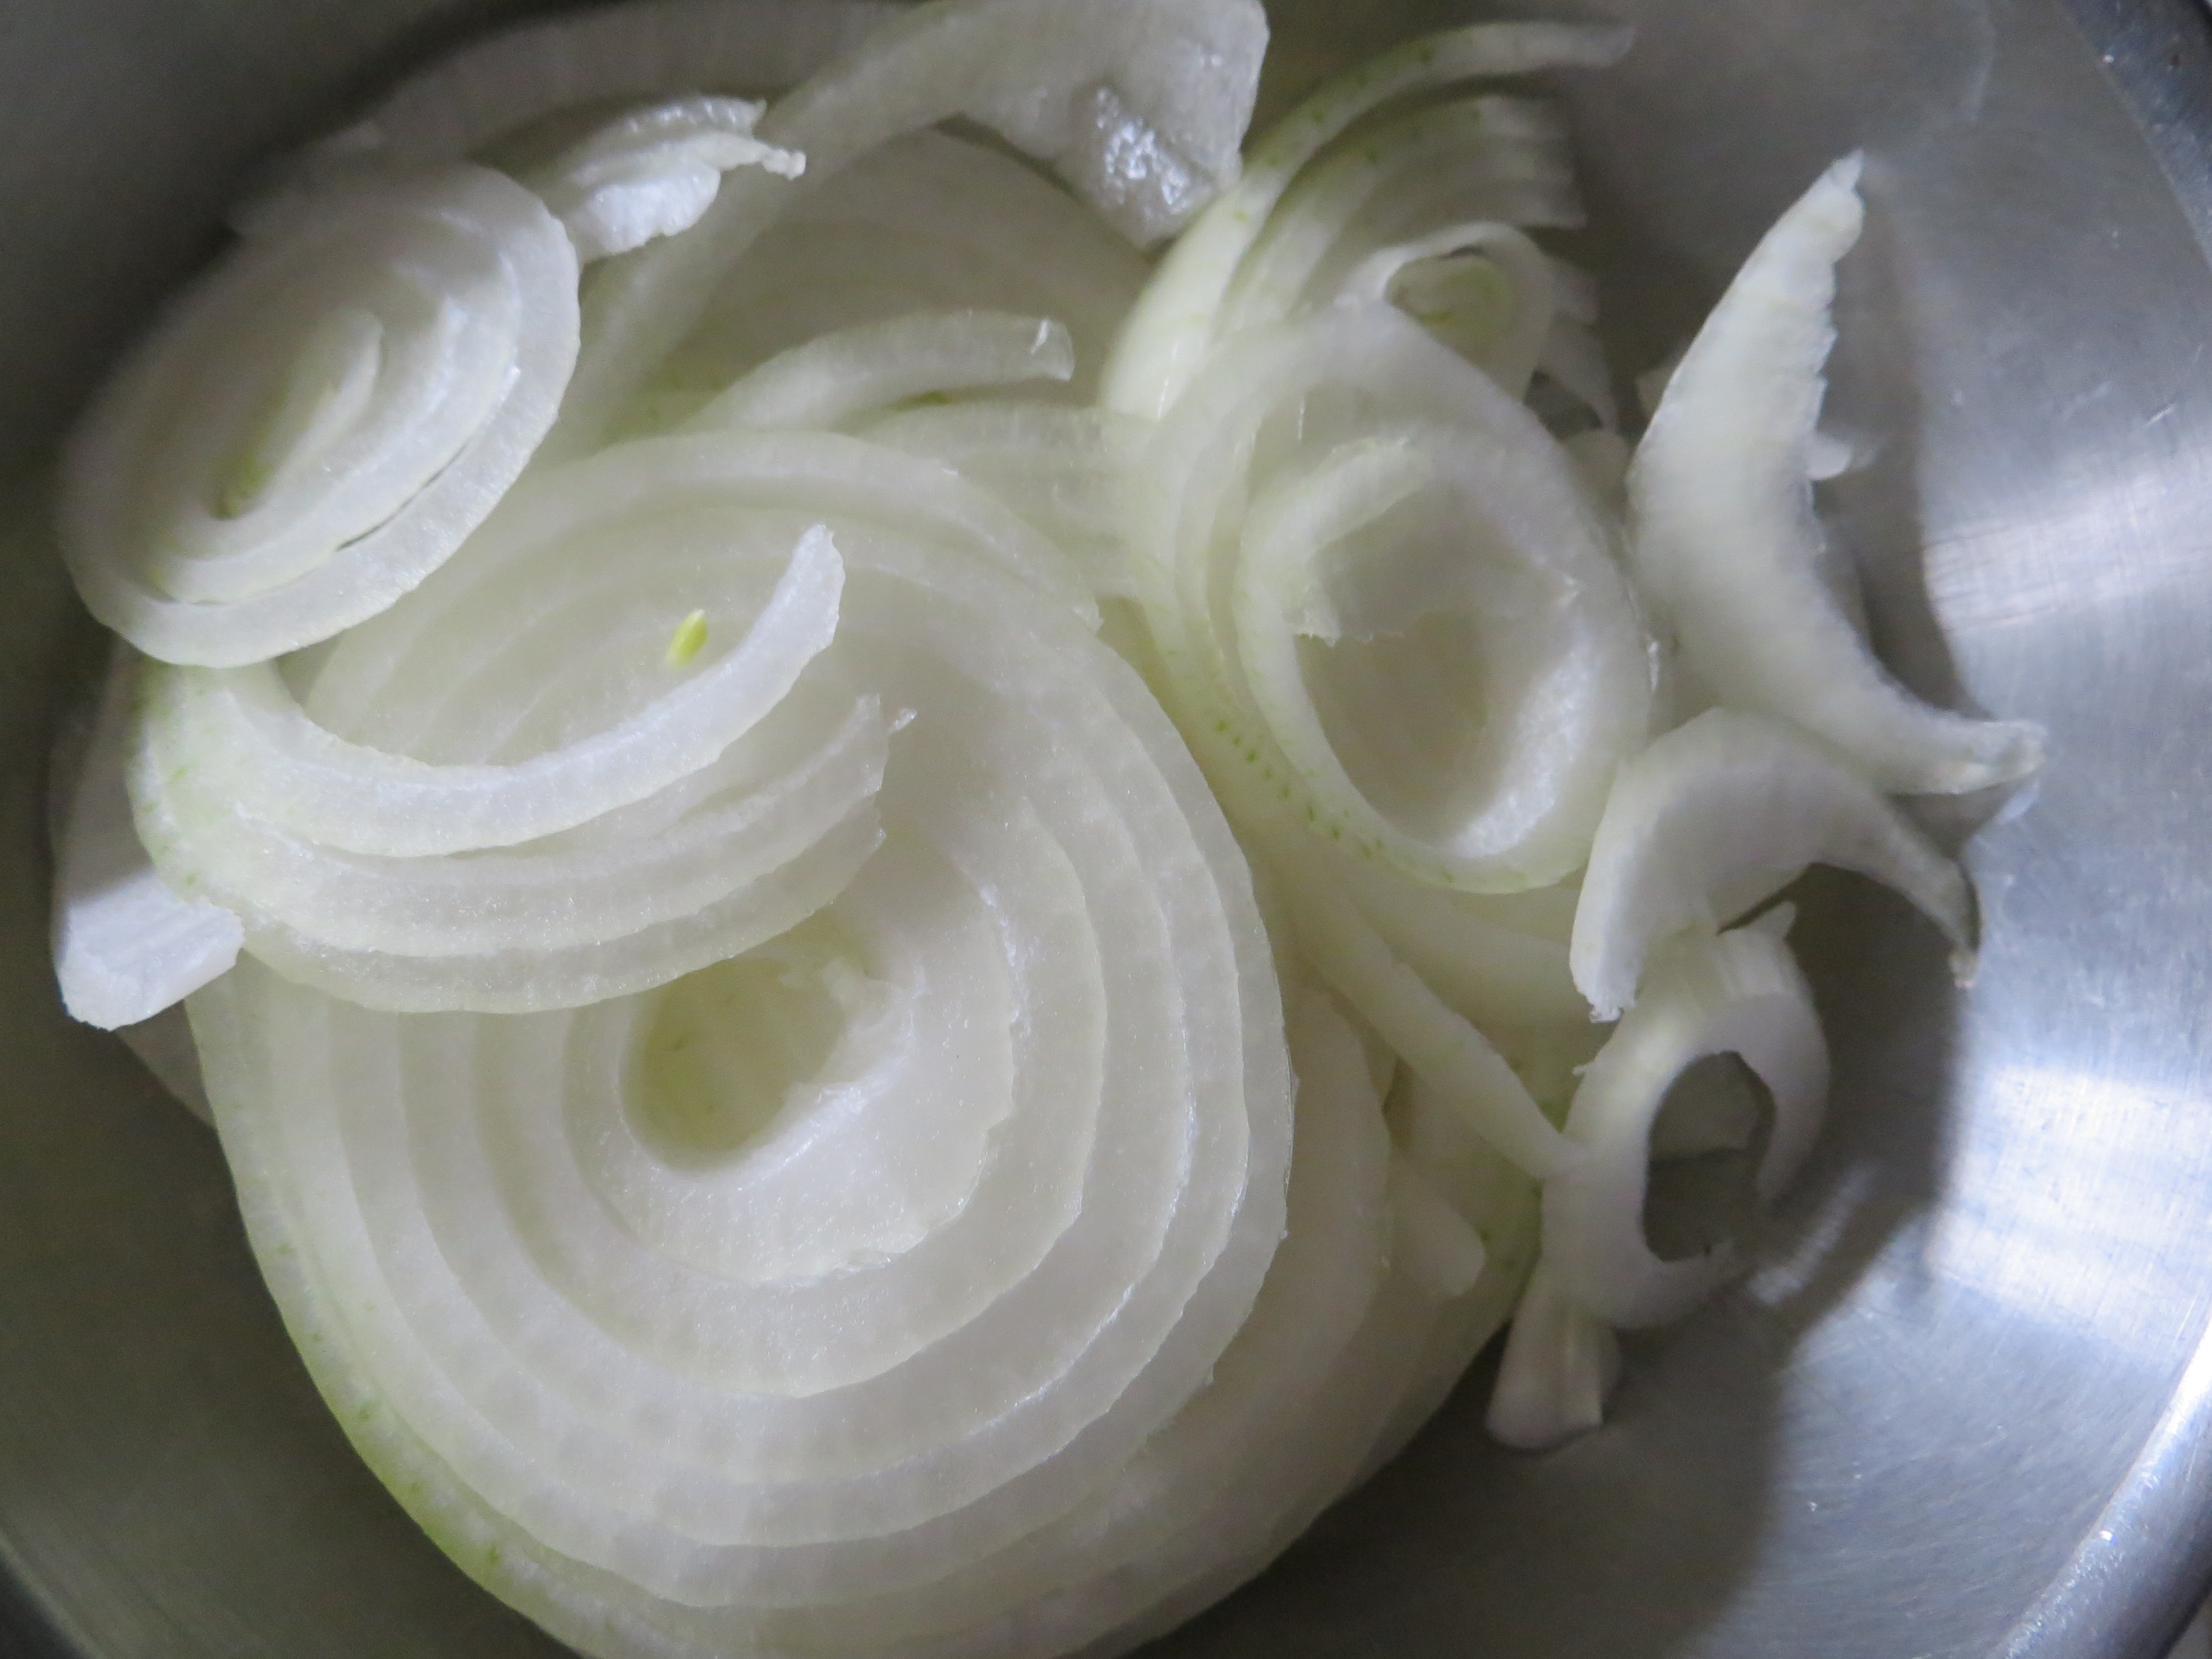
2 medium onions, sliced into rings
2 tsp. cracked black pepper
1/3 cup soy sauce
3 tsp. white sugar
2 tbsp. lemon juice
olive oil for frying
2 cups water
Tenderize the Beef:
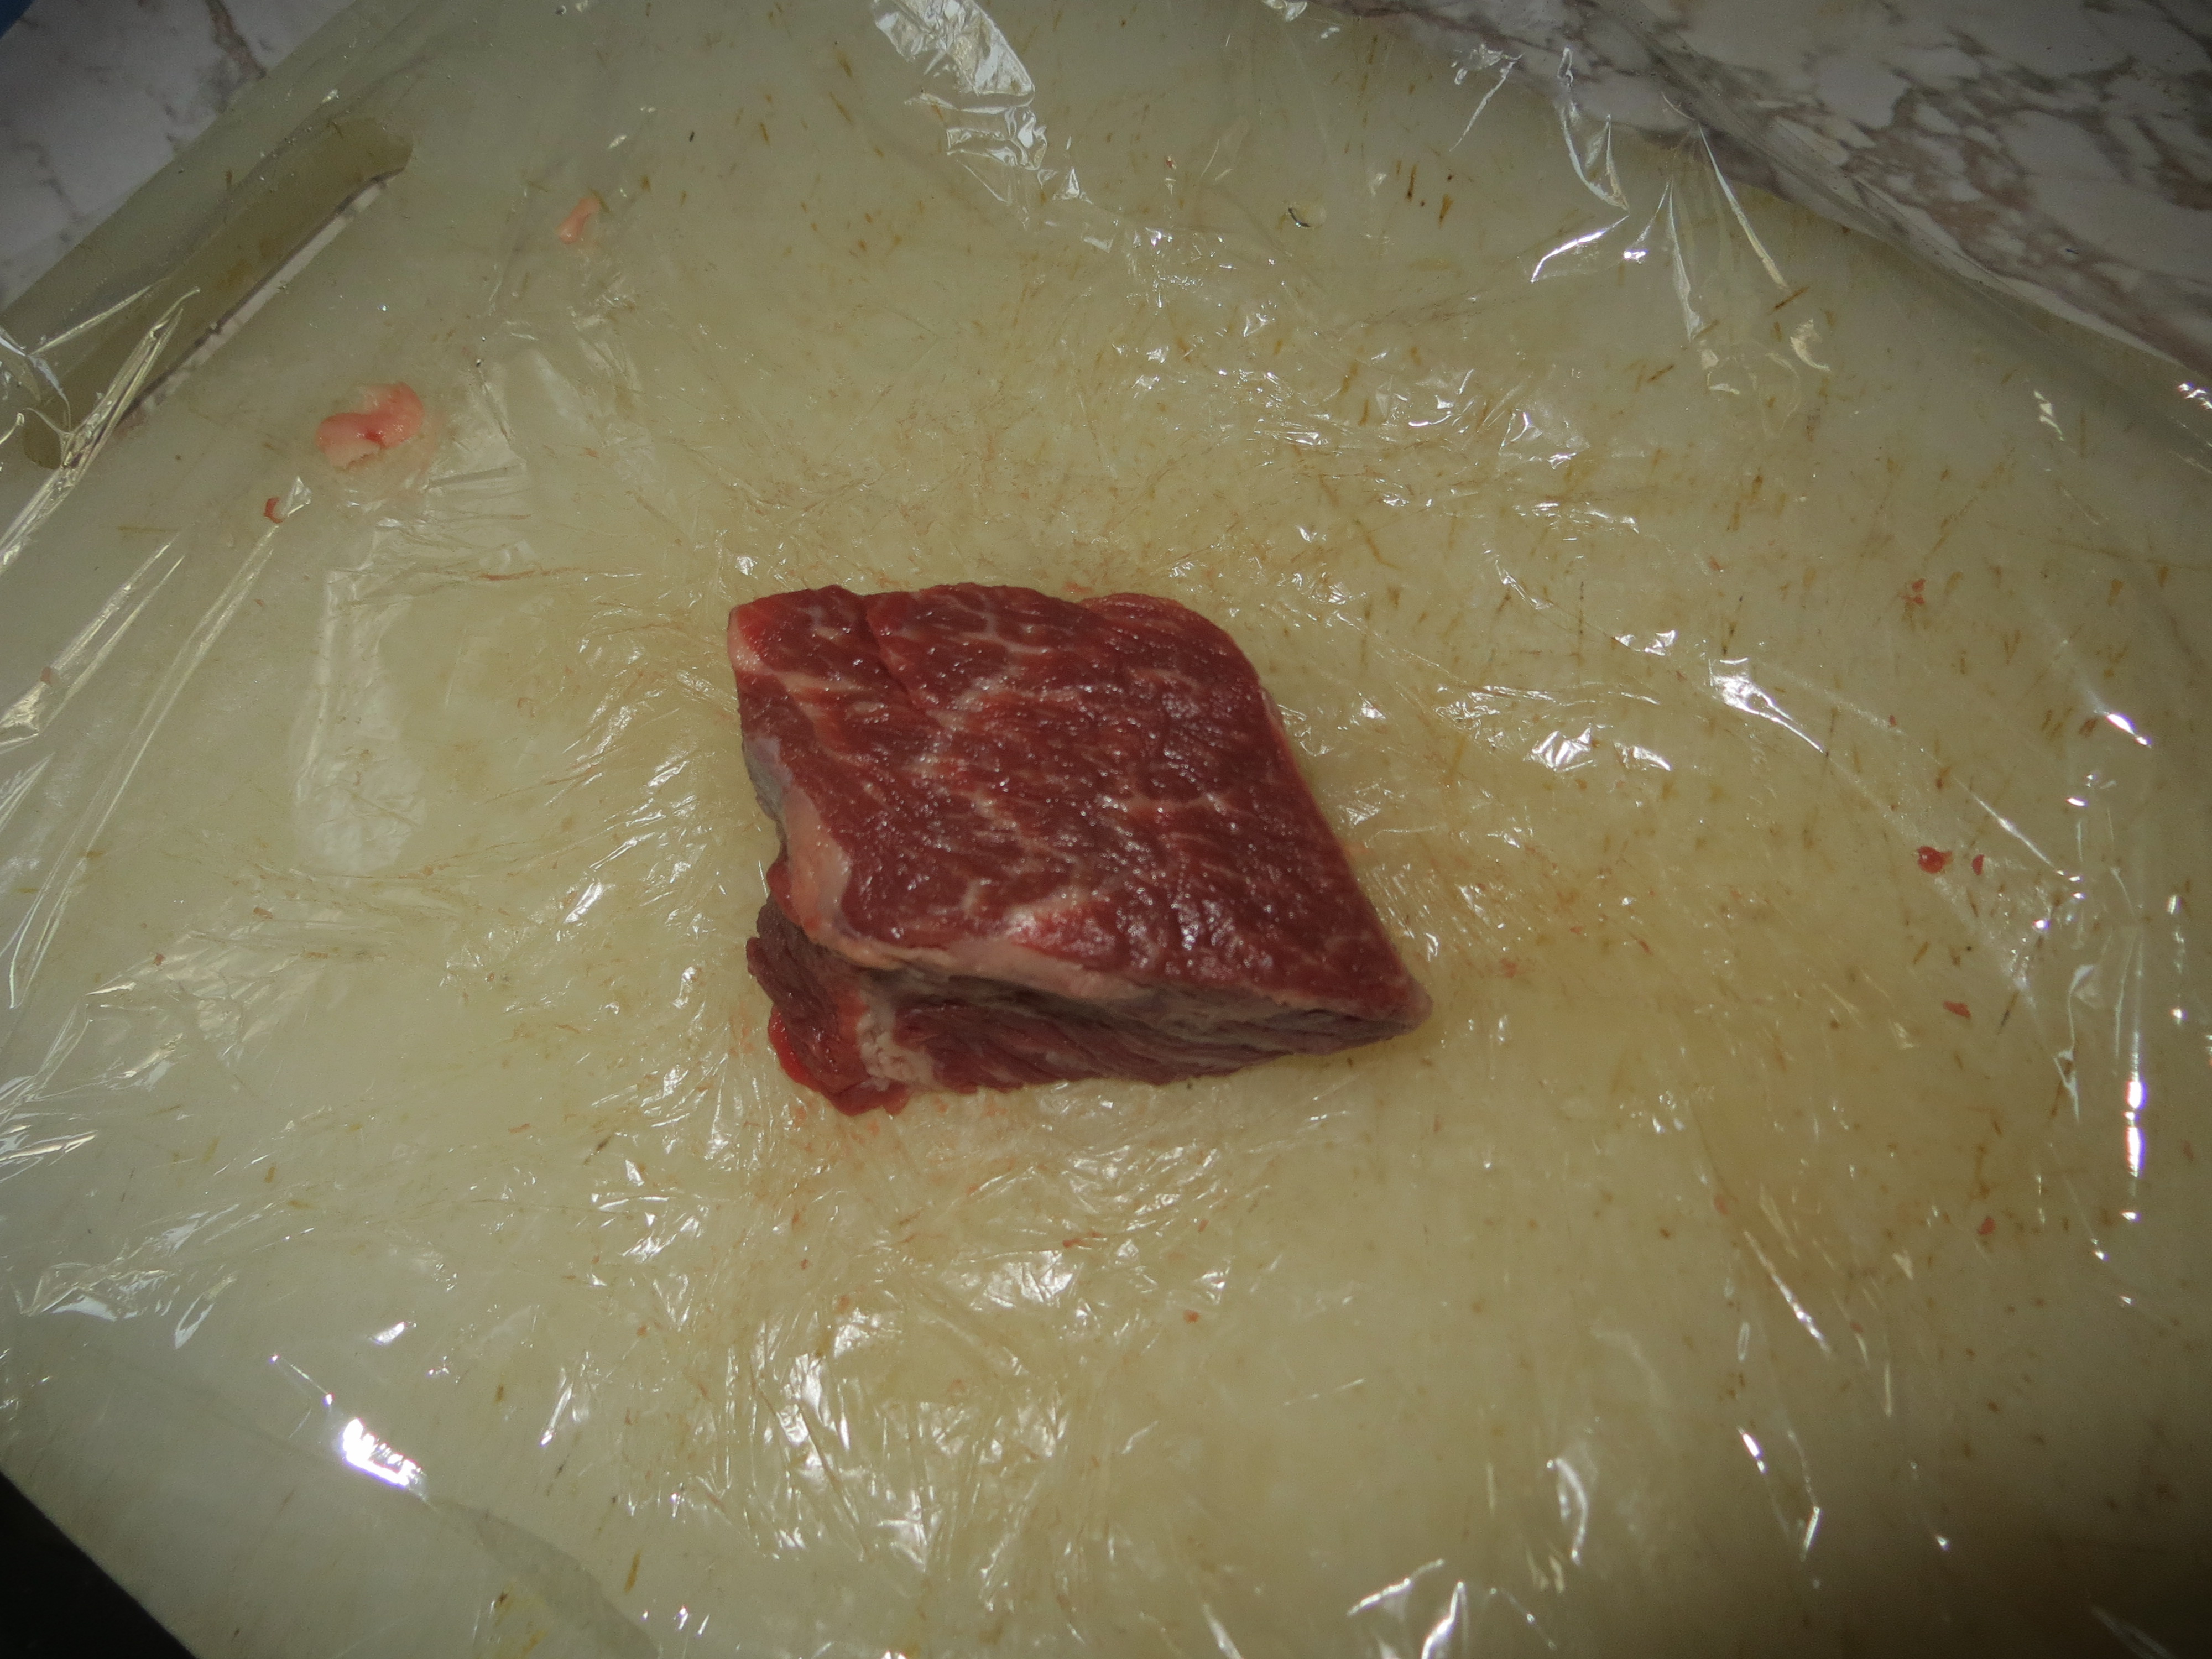
Cut beef into 2 1/2 inch cubes. Cover a chopping board with plastic wrap, and place beef cube in center. Lay another sheet of plastic wrap over the beef. Pound with tenderizer until beef is about a quarter of an inch thick and expanded throughout the surface of the chopping board. Beef should be able to be ripped apart when you remove it from the chopping board. Transfer to marinade (recipe follows).

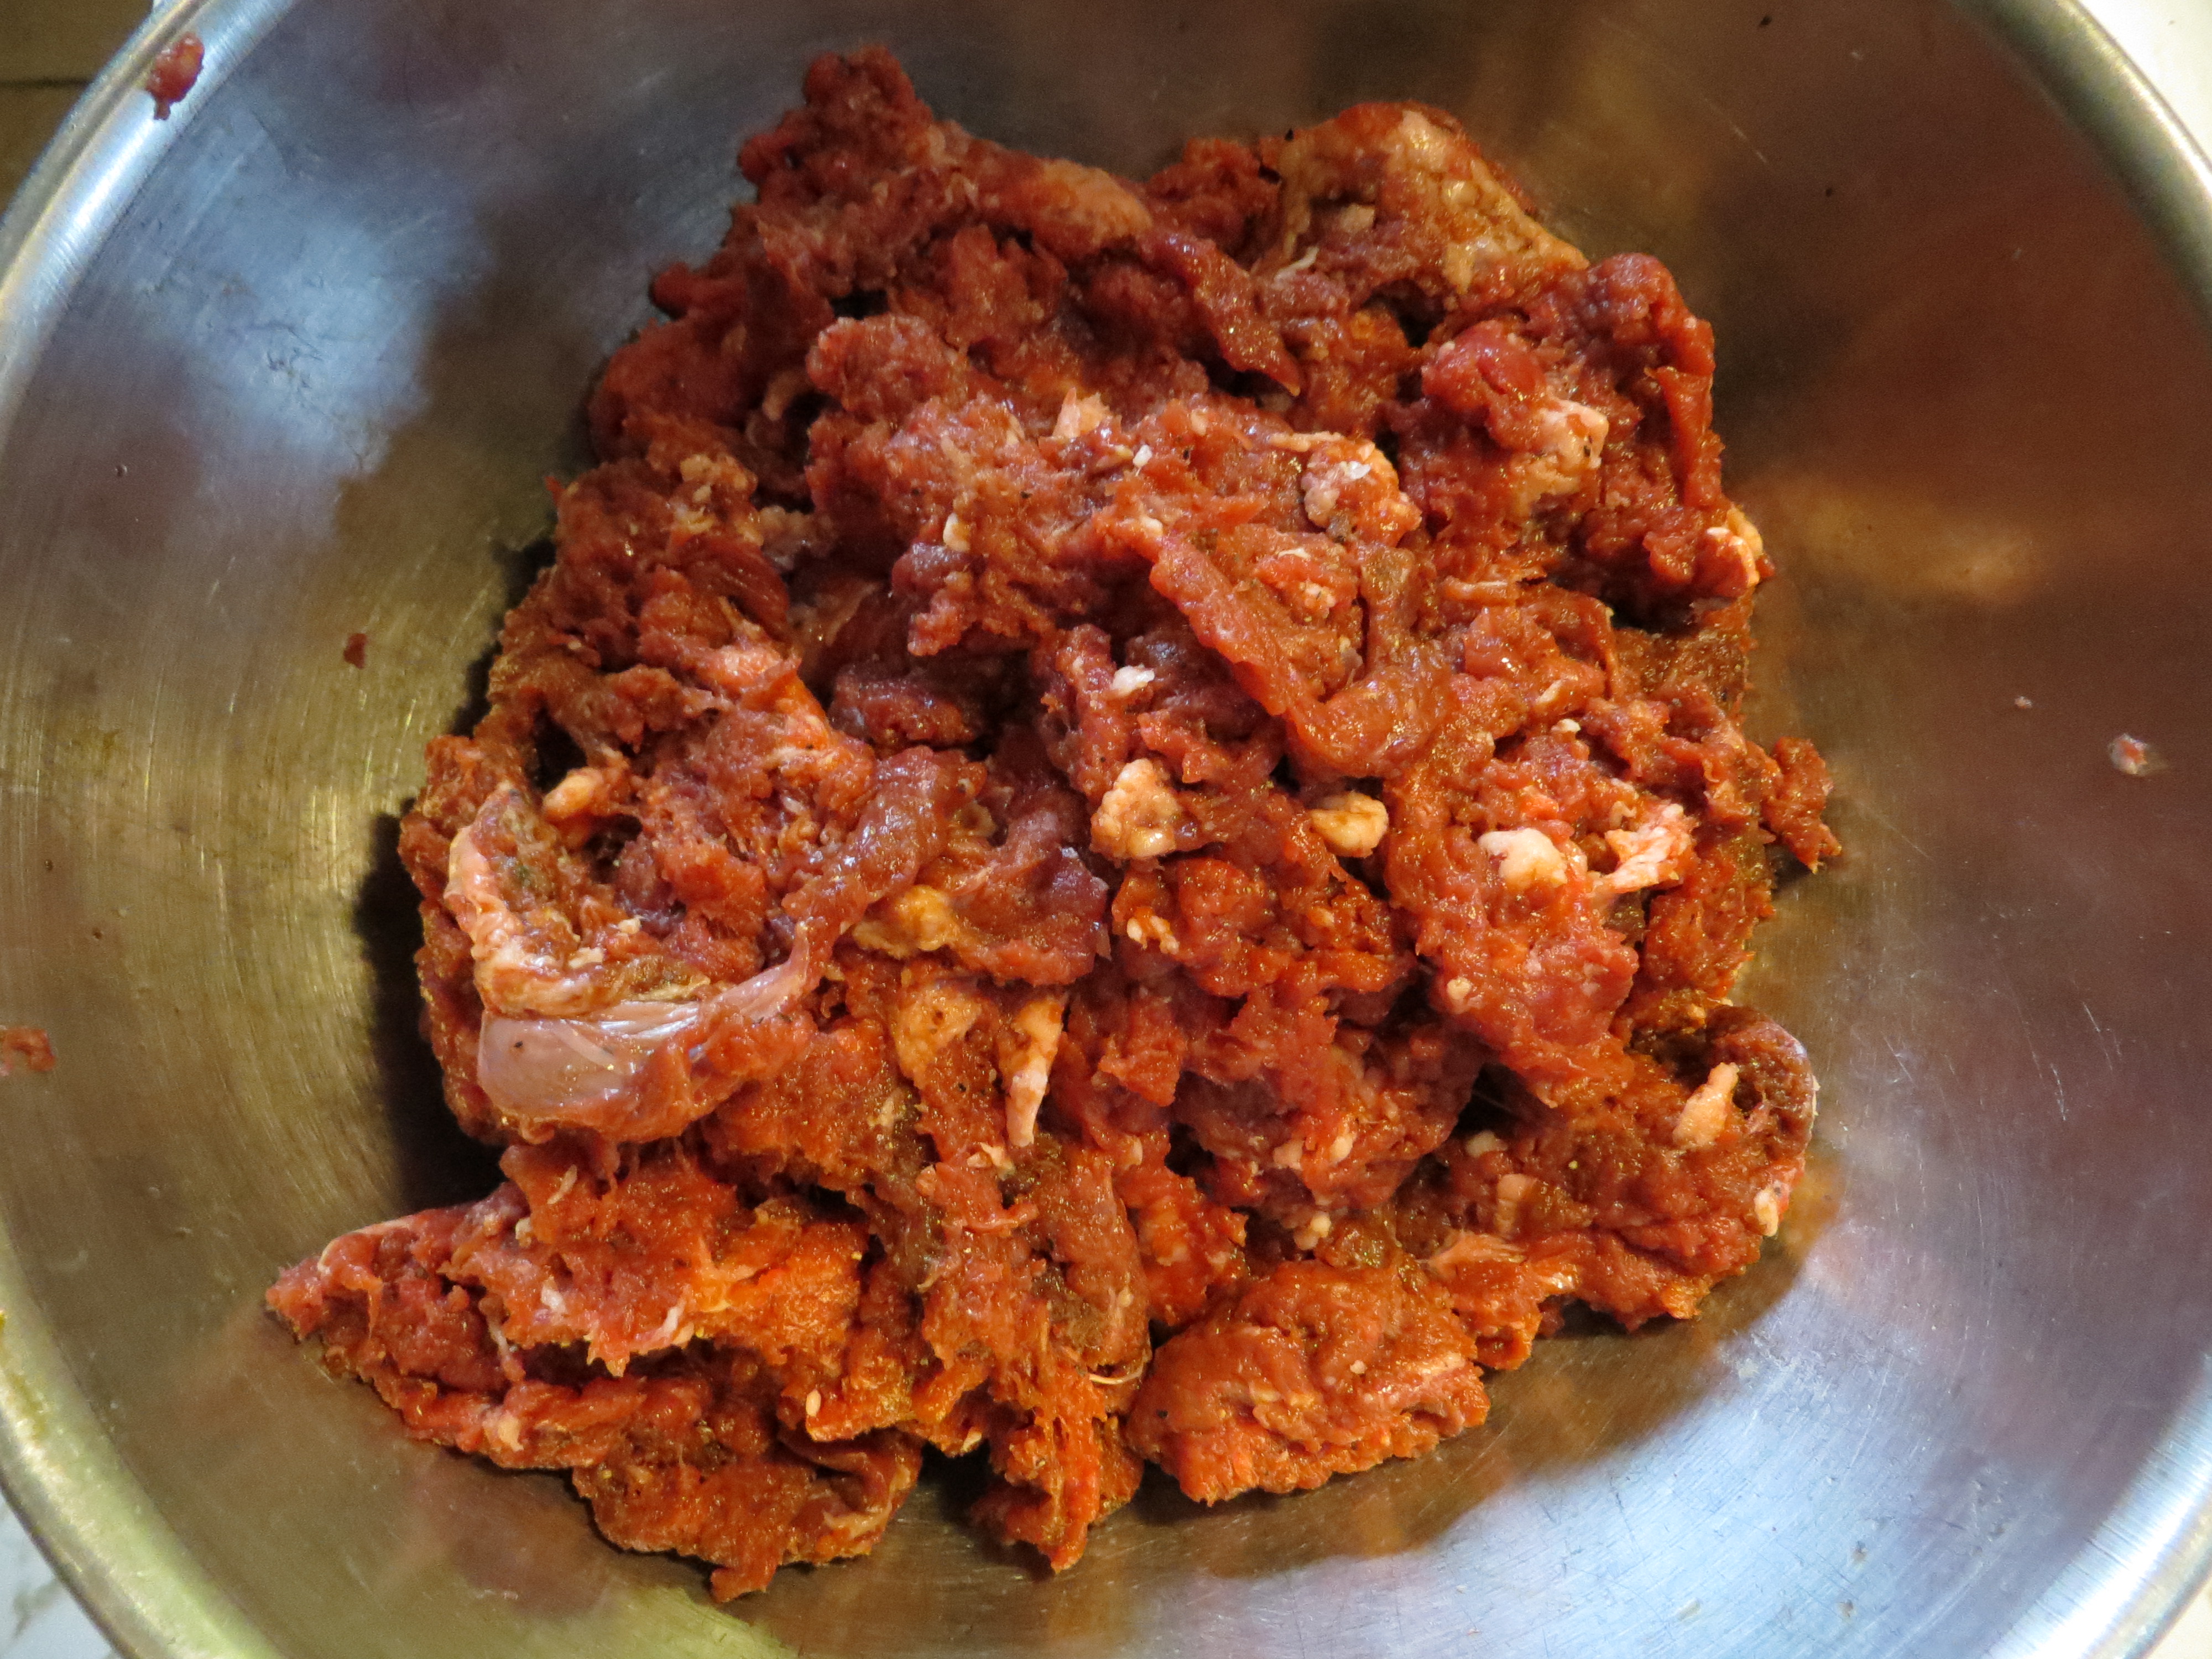
1. For the marinade, combine pepper & soy sauce in a large bowl.

2. After all of the tenderized meat is in the bowl, add sugar and lemon juice. Use your hands to massage the meat and incorporate the marinade. (It’s okay if meat tears apart as you massage it.)


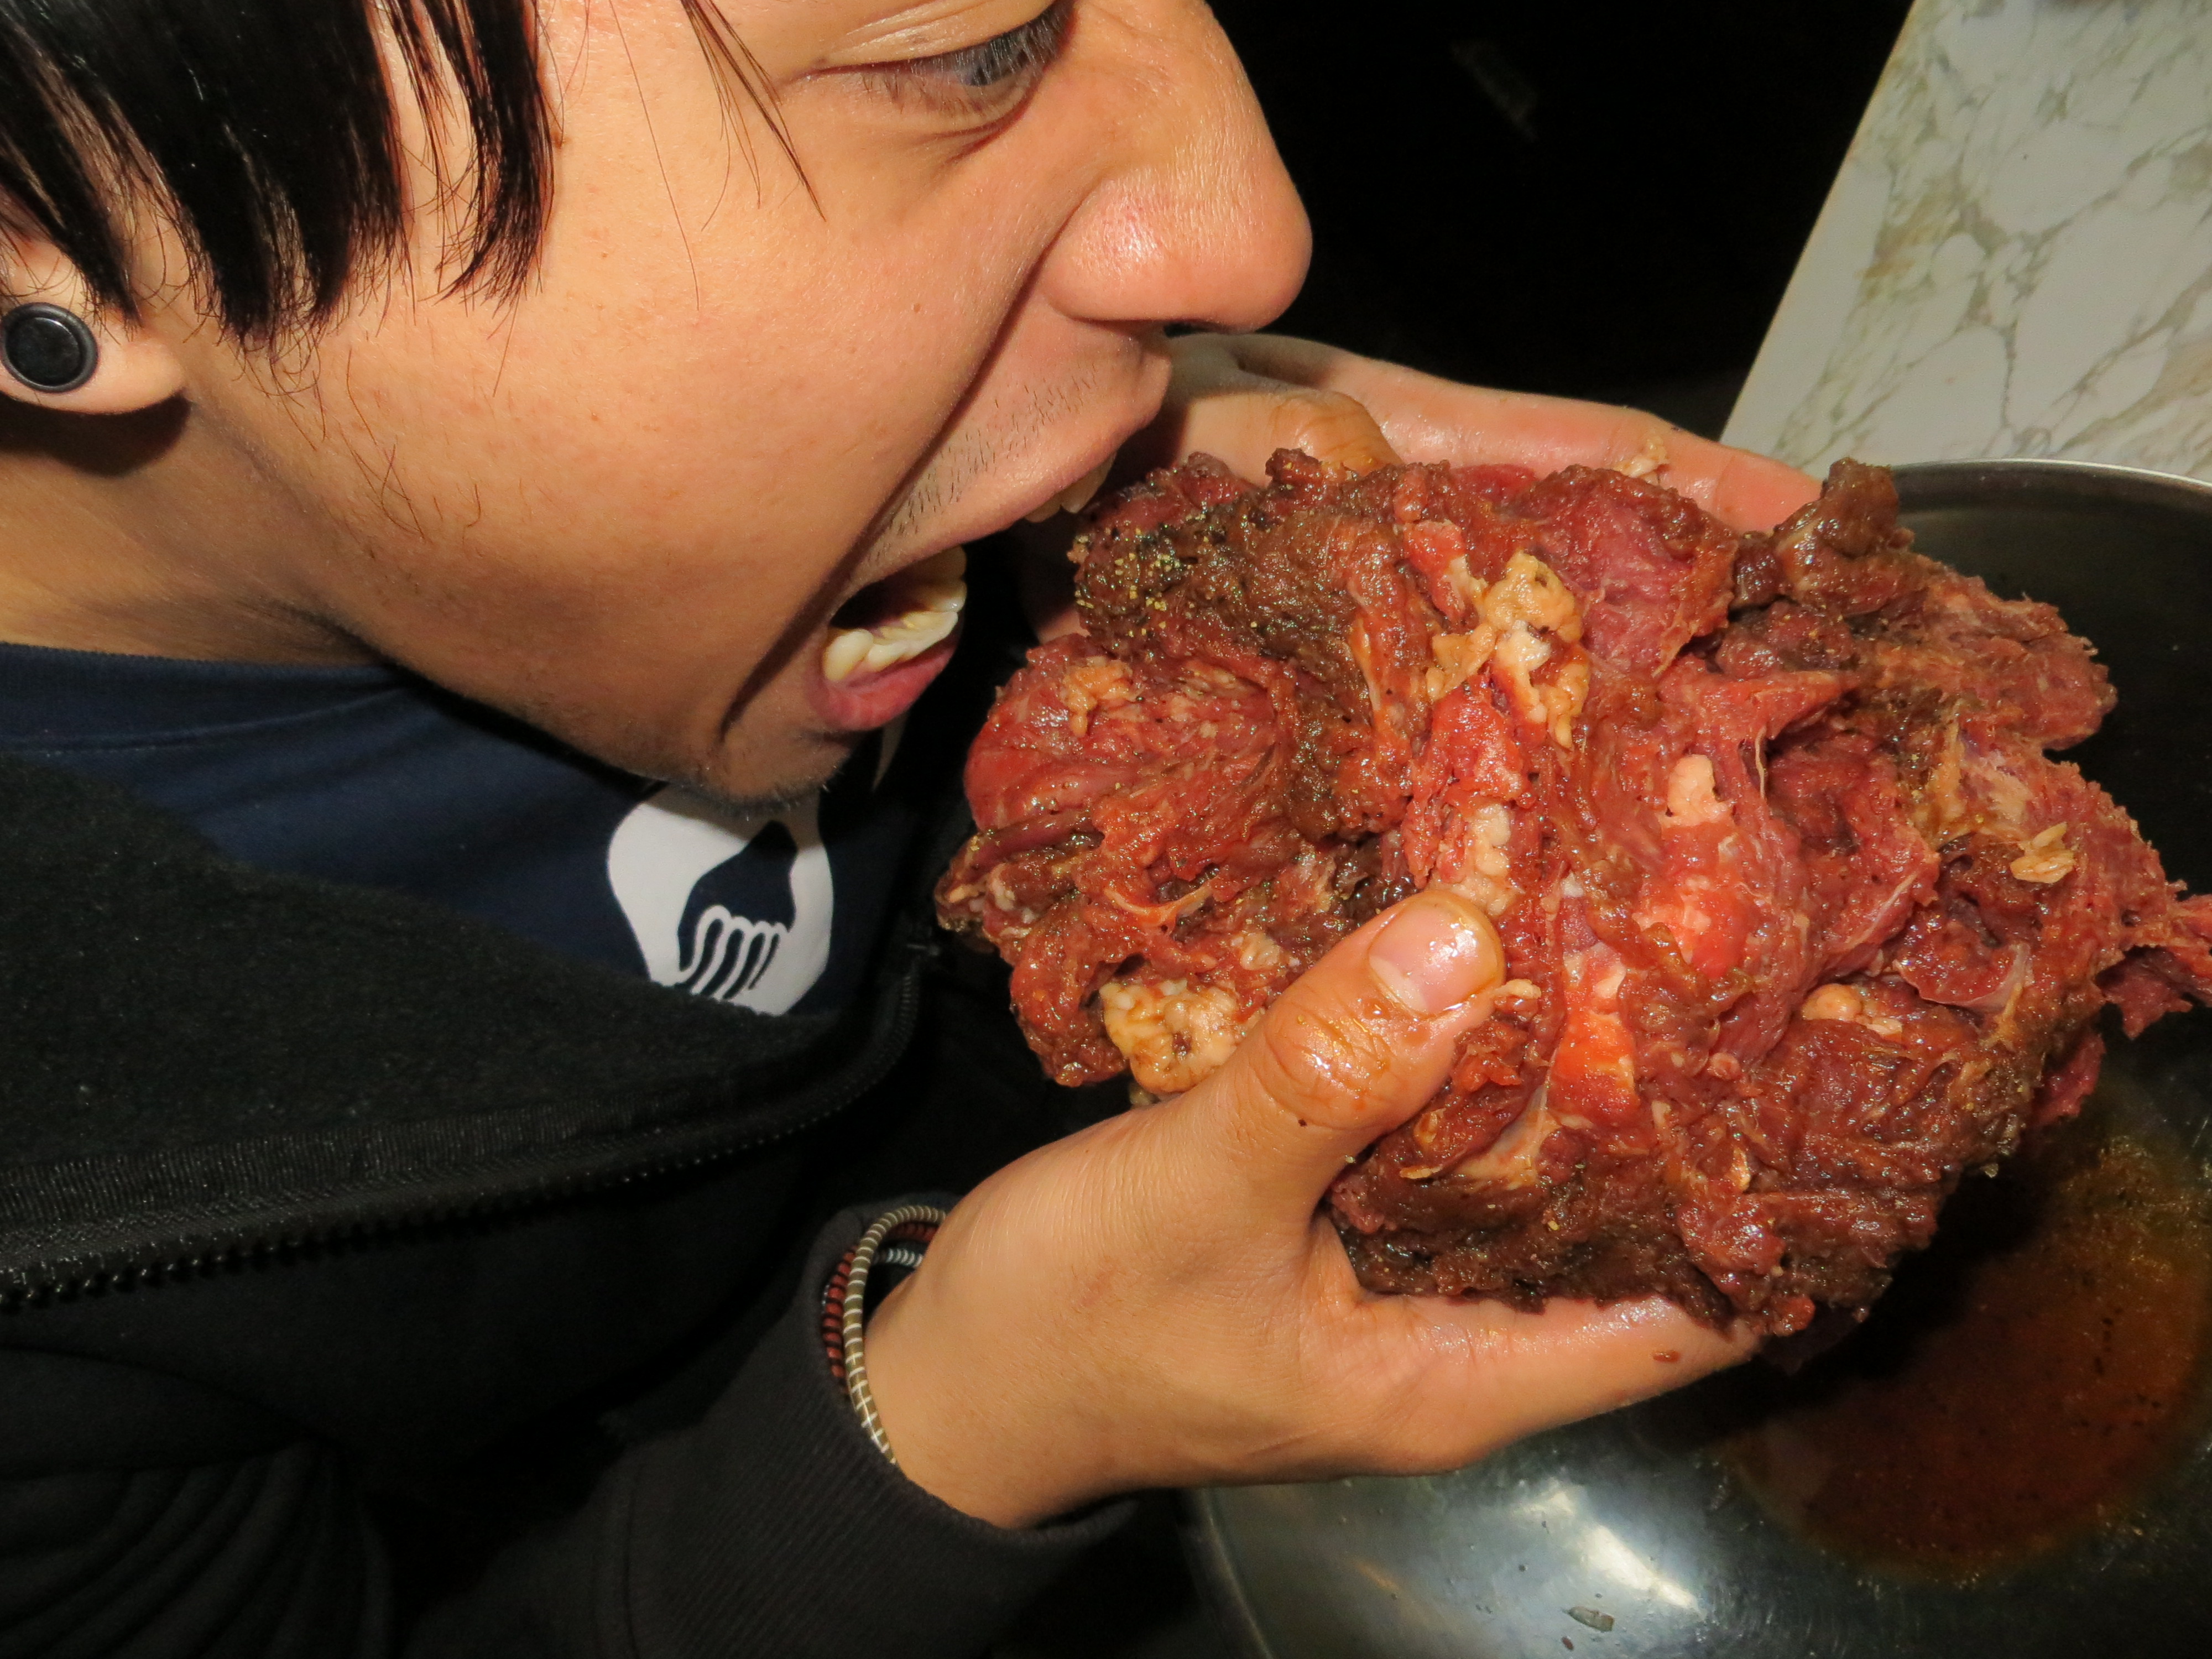
Don’t do this =P …
3. Set meat aside. In a medium-sized pot, saute onions in olive oil until they become translucent, but not caramelized – about ten minutes. Remove from pot and set aside.

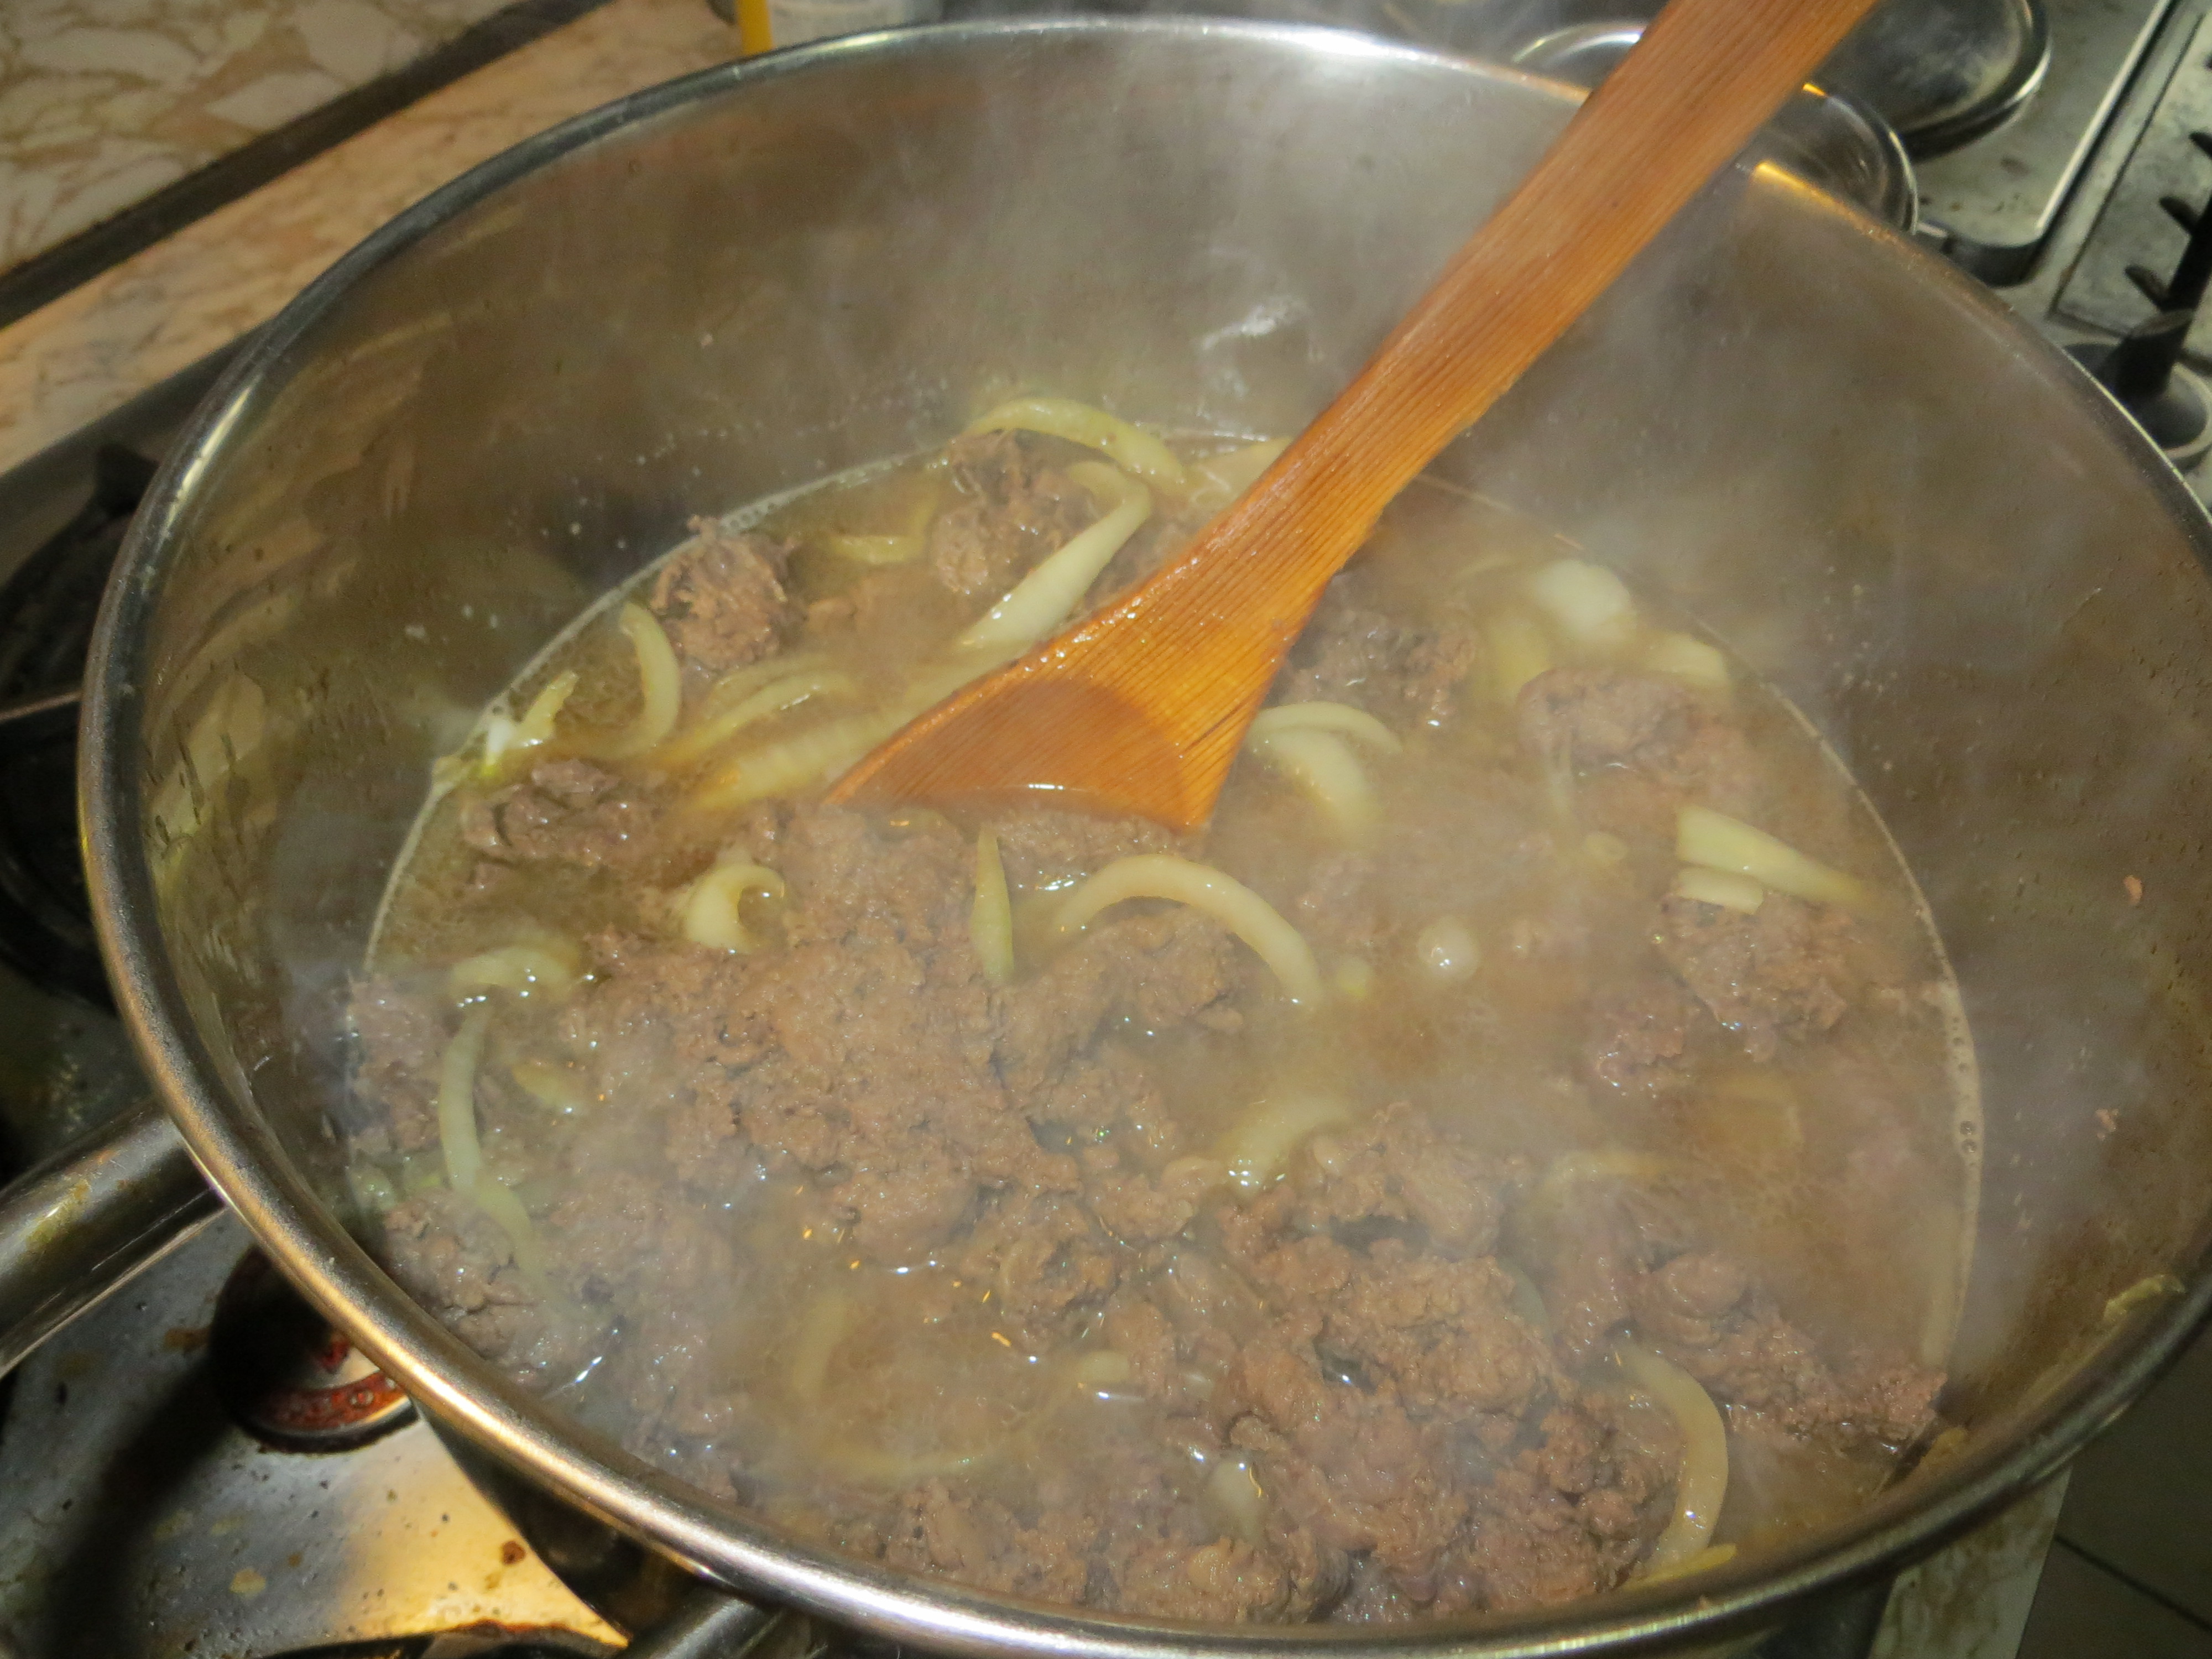
4. In same pot, over high heat, add beef and marinade. Cook until brown, stirring occasionally.


5. Add water, reduce to simmer. Add cooked onions, and mix together. Serve over rice with potato chips (optional).
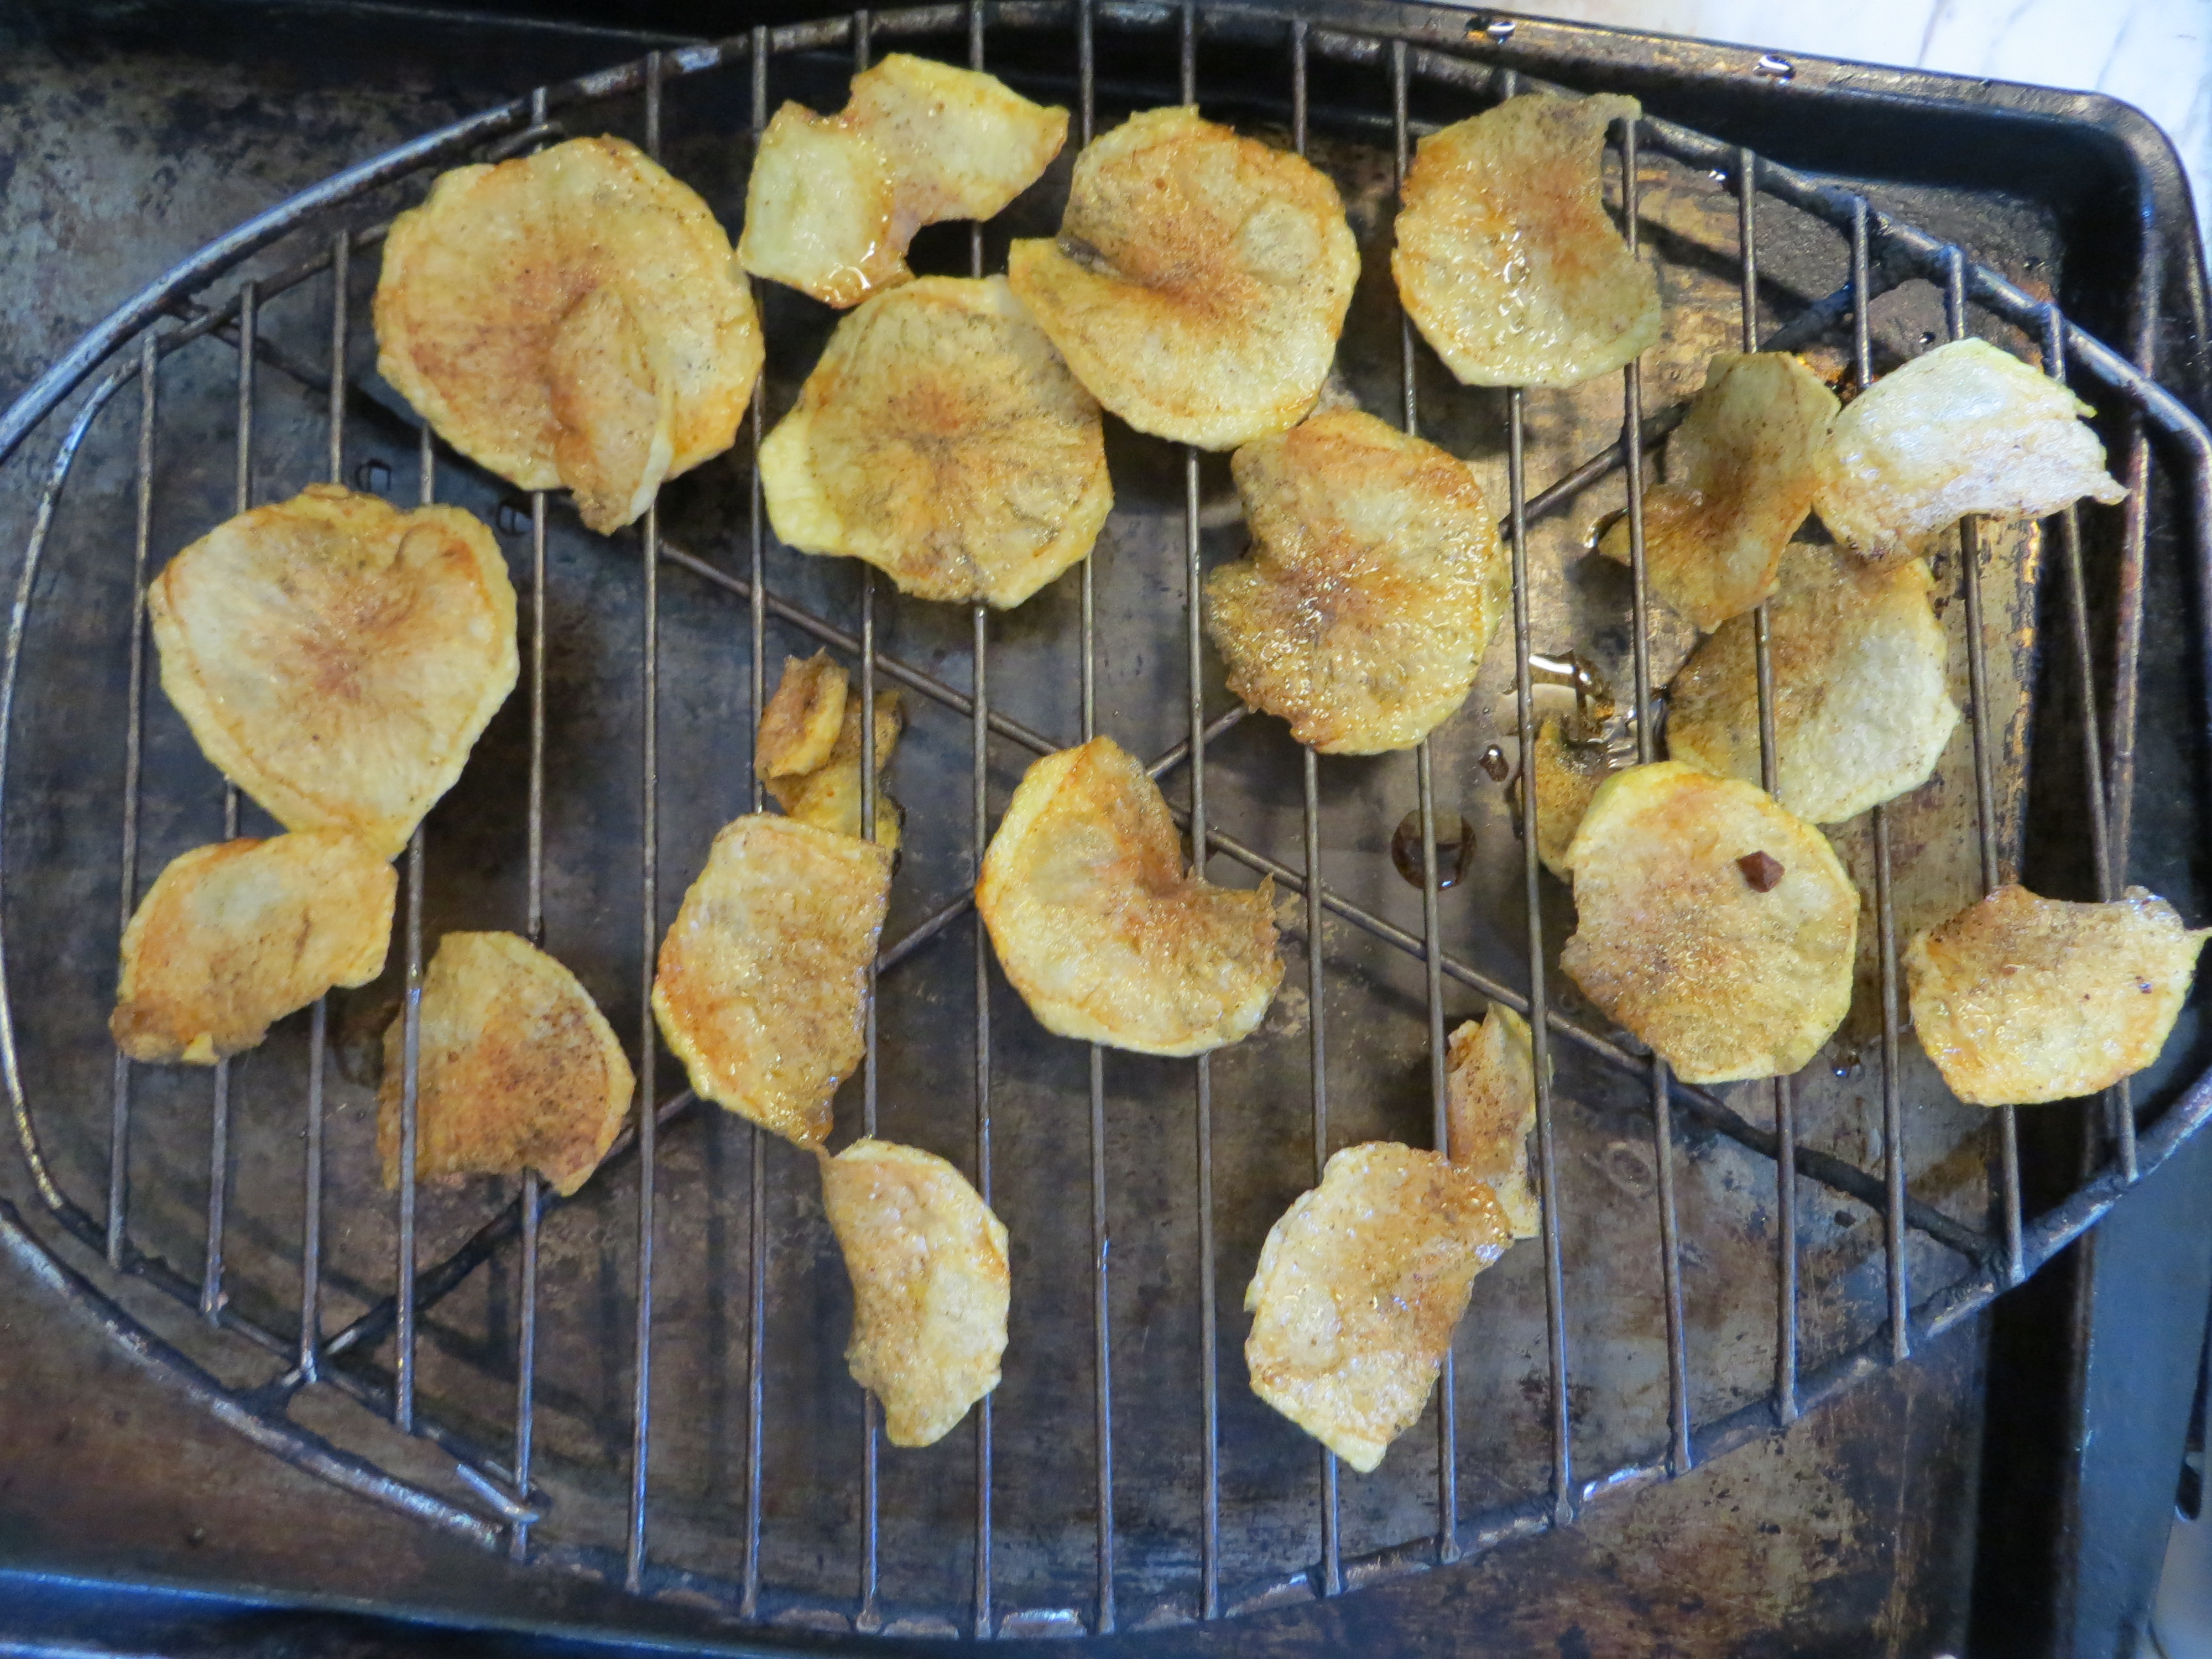
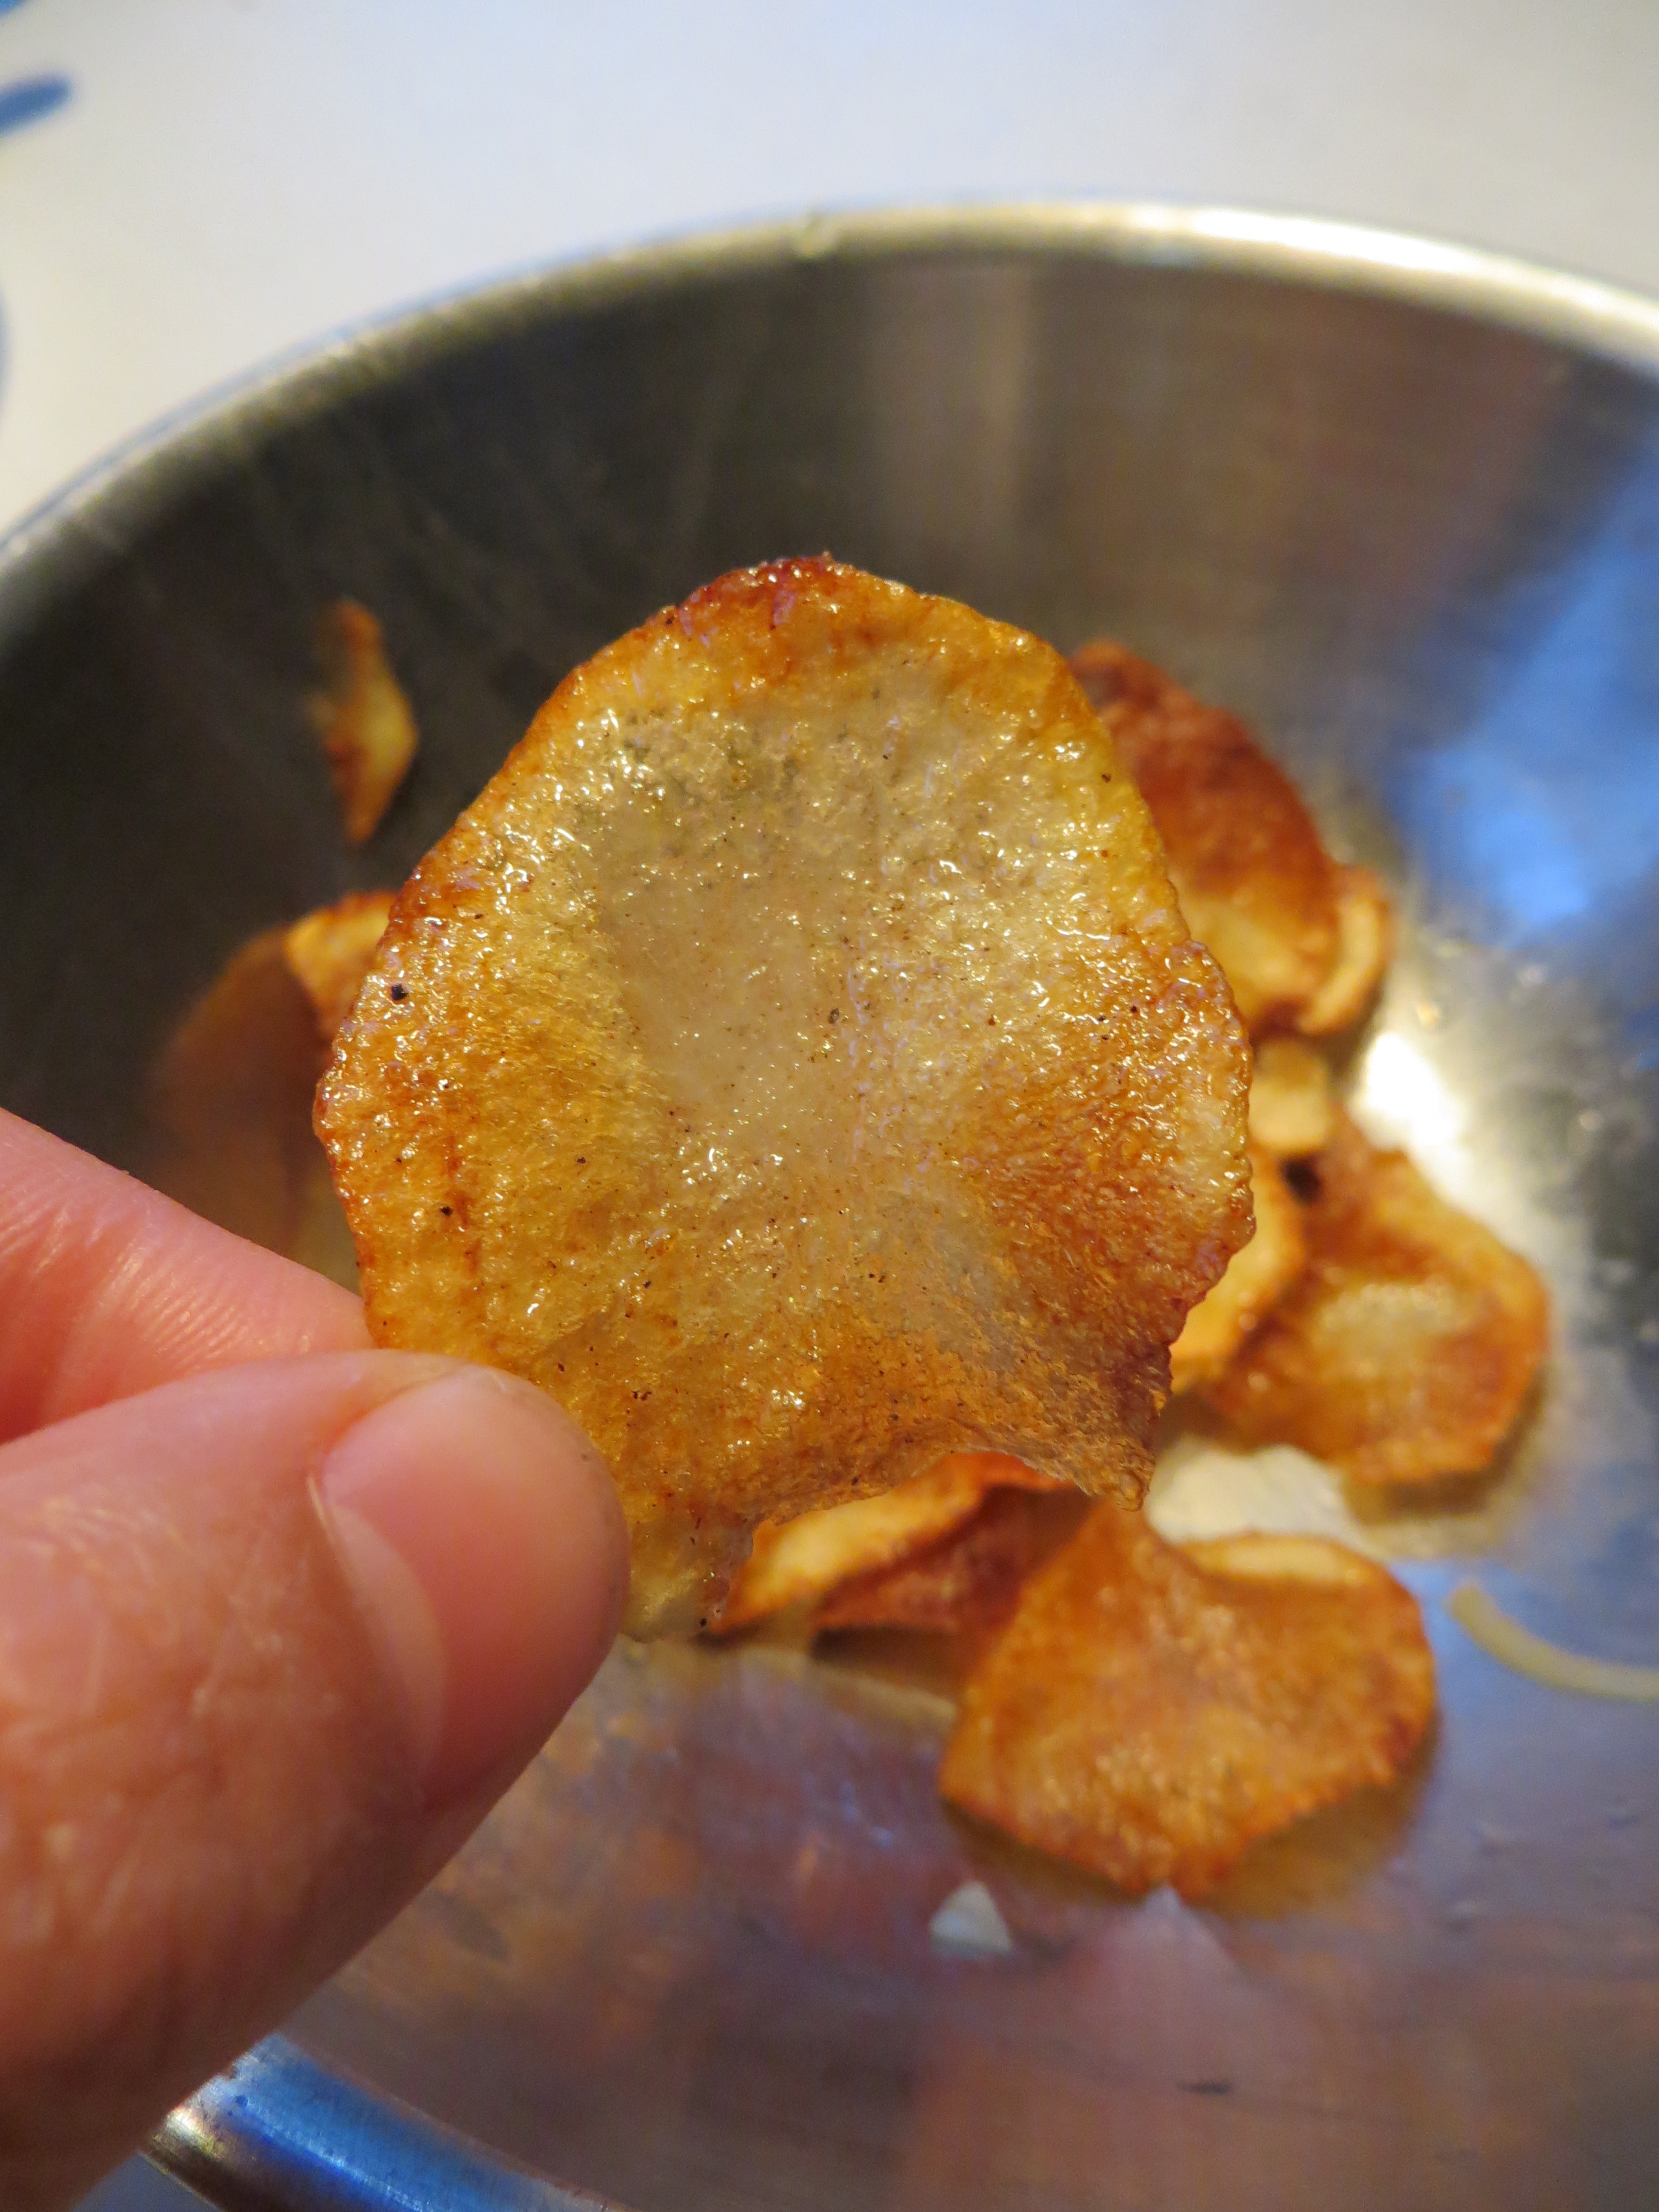
Home-Made Potato Chips

Ingredients:
1 russet potato, peeled
1 cup vegetable oil
pinch of salt
1/2 tsp. apple cider vinegar (optional)*
In a deep frying pan, heat oil. Slice potato very thinly with a mandoline slicer. (I don’t have one, so I used a cheese grater. 🙂 ) Fry slices for about 3 minutes on each side, until light brown. Cool for 2 minutes on a cooling rack placed over a baking sheet in order to catch the excess oil. Transfer to a large bowl and toss with salt and apple cider vinegar*.